Software Interface
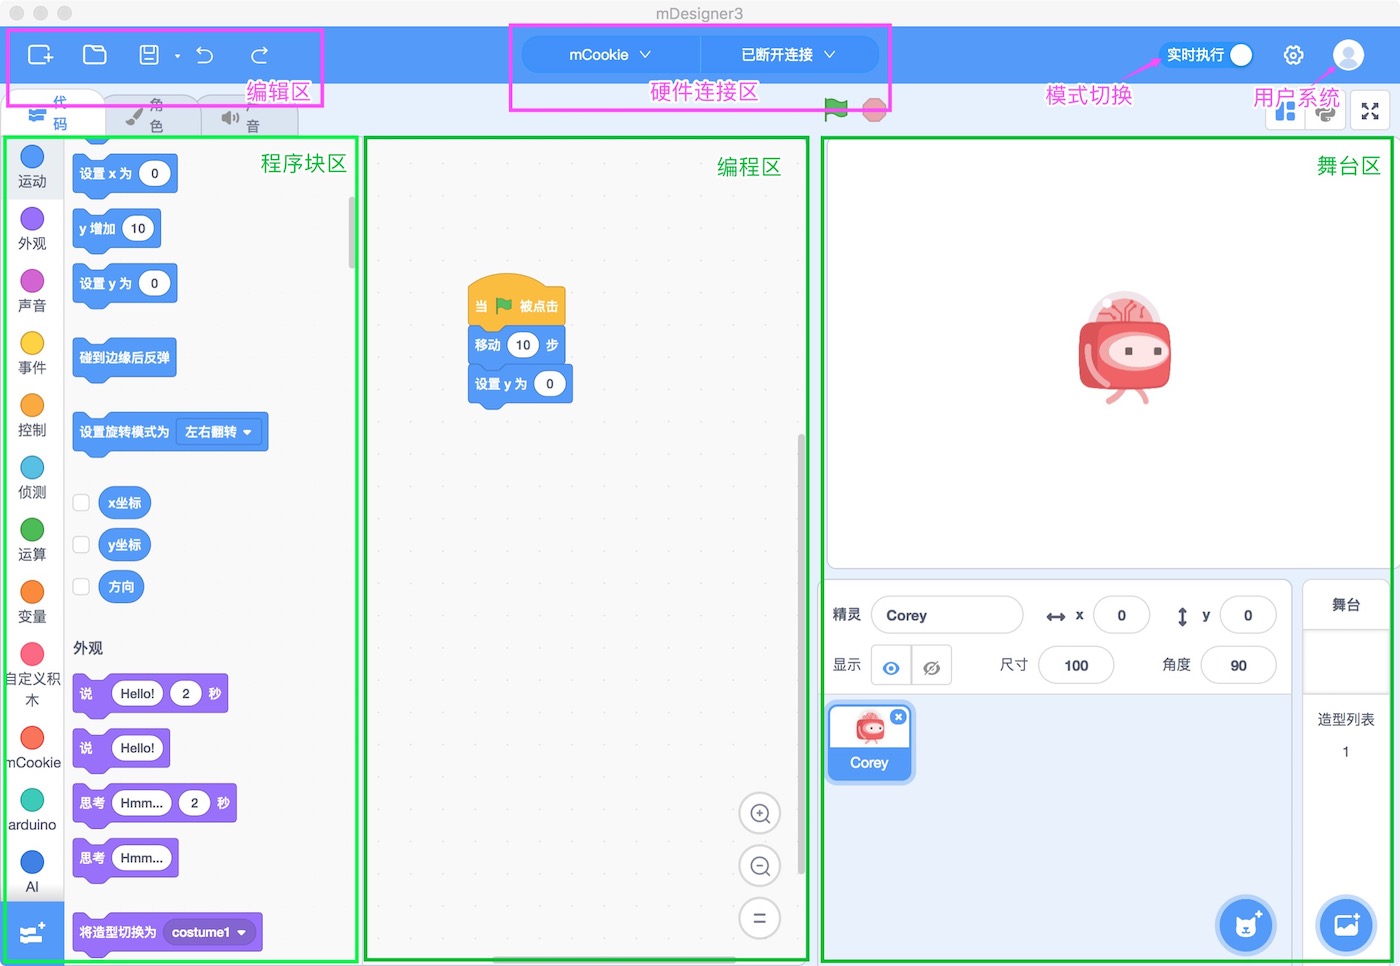
- Hardware connection:hardware products select、connect、burn firmware and other functions Software Interface
The menu bar:New、Open、Save、Save as and other functions of file.
Mode switching:Real-time execution mode and upload execution mode switching;
User system:User Registration、Login、Exit and View Cloud Files;
Block area:Provide the program blocks needed for programming, which can be searched by classification and color;
Programming area:In the area where the block is operated, you can drag and drop the block to this area to write the program;
Stage area:Show program effects, add features like roles and backgrounds;;
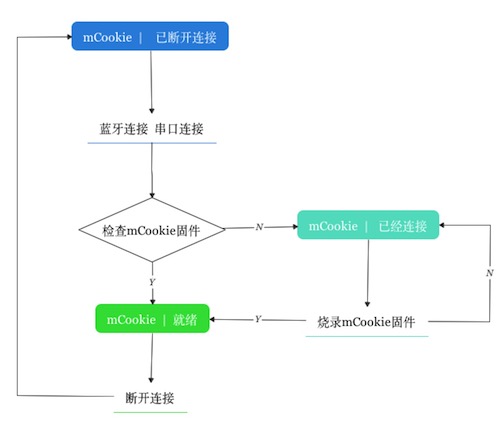
Connect hardware and burn firmware
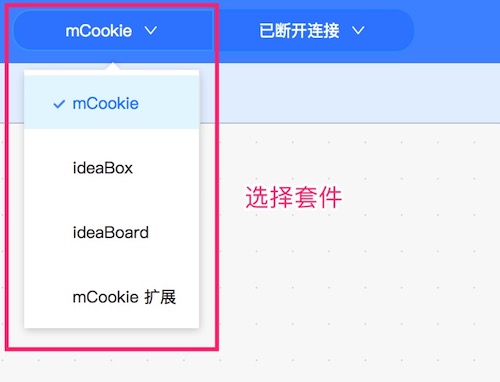
1. Select Kit: By default, the last selected kit is checked, initially mCookie;
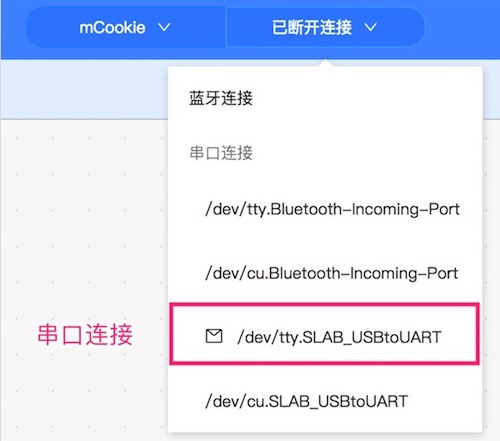
2. Connect the hardware: Select the correct serial port click connection;
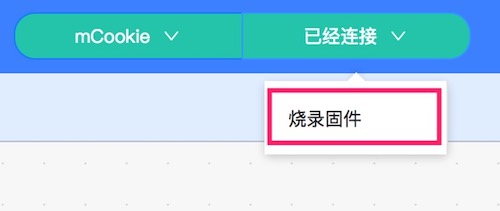
3. Burning firmware: When the connection is successful, the firmware will be checked. If the firmware is not correct, “Connected” is displayed. Click “Burning Firmware” to burn the firmware corresponding to the selected kit.
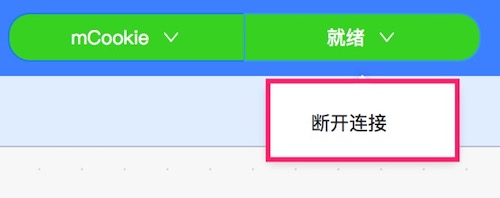
4. Disconnect: The connection is successful and the firmware is correct, “Ready” is displayed, click “Disconnect”, if it is “Ready” or “Connected”, the switch kit will also be disconnected. connection.
Registration and login
- Registered: Click on the "Avatar" logo in the upper right corner, select "Register", enter the email/phone number, the received verification code and set the password to complete the registration;
Log in: Click the "Avatar" logo in the upper right corner, enter the email/phone number, password to log in, or select a third-party account to log in.
Note: The Chinese version and the international version are different account systems. Please select the corresponding version to register/login according to your region
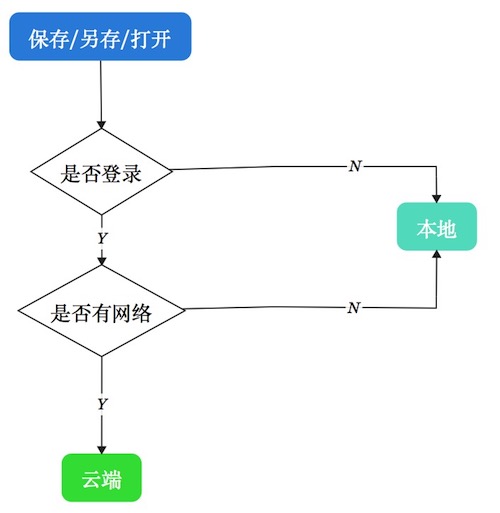
Cloud storage